How to Check a Manual Blood Pressure
One of the most common tasks you will need to perform as a medical assistant is obtaining vital signs. While many healthcare facilities have automatic blood pressure machines, knowing how to take a manual blood pressure is still important.
What is Blood Pressure?
Before you take a patient’s blood pressure it’s important to understand what it is. Blood pressure is a measurement of the force of the blood pushing against the walls of the arteries as the heart pumps blood through the body. It is expressed in two numbers: the systolic pressure (the top number) and the diastolic pressure (the bottom number). A normal blood pressure reading is 120/80 mmHg.
Abnormal Blood Pressure Readings
An abnormal blood pressure reading is higher or lower than the normal range. High blood pressure is considered to be 140/90 mmHg or higher, and low blood pressure is any reading of 90/60 mmHg or lower.
High Blood Pressure
High blood pressure, also known as hypertension, is a condition where the pressure of the blood in your arteries is higher than usual. This can strain the heart and other organs and lead to a variety of serious health problems, such as heart attack, stroke, kidney disease, and vision loss. High blood pressure is often caused by lifestyle factors such as smoking, excessive alcohol consumption, obesity, lack of physical activity, and stress. It can also be caused by certain medical conditions and medications. Treatment options include lifestyle changes, such as eating a healthy diet, exercising regularly, and reducing stress, as well as medications.
Low Blood Pressure
Low blood pressure, also known as hypotension, is a condition where the pressure of the blood in your arteries is lower than expected. This can lead to symptoms such as lightheadedness, dizziness, and fatigue. Low blood pressure is often caused by dehydration, medications, and medical conditions such as anemia and diabetes. Treatment options vary depending on the underlying cause and may include lifestyle changes, such as eating a healthy diet and exercising regularly, as well as medications.
The Steps of Checking a Manual Blood Pressure
-
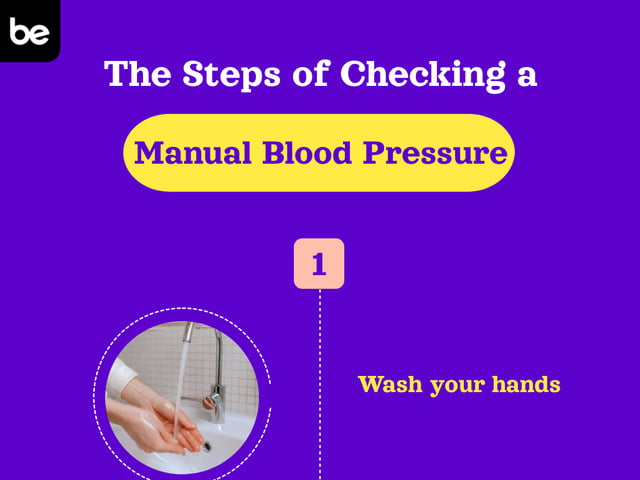
Wash your hands.
-
Gather supplies: a stethoscope, sphygmomanometer, and appropriately sized cuff.
-
Wrap the cuff around the patient’s upper arm, 2 cm above the brachial artery. Make sure the arrow on the cuff lines up with the brachial artery. The upper arm should be level with the patient’s heart.
-
Place the sphygmomanometer so you can easily read it.
-
Palpate for the estimated systolic pressure: Place your fingers on the brachial artery, and inflate the cuff until you can no longer feel the pulse. The number on the gauge at that time is the estimated systolic pressure. Make a note of that number and deflate the cuff. Wait at least a minute before moving on to the next step.
-
Place the stethoscope in your ears and gently place the diaphragm on the brachial artery immediately below (but not under!) the blood pressure cuff. Inflate the cuff once more, this time quickly squeezing the bulb until the gauge reads about 30 mmHg above the estimated systolic pressure.
-
Slowly deflate the cuff at a rate of about 2-3 mmHg per second. You first hear sounds at the systolic blood pressure (the top number), and the number at which you no longer hear anything is the diastolic blood pressure (the bottom number).
-
Once the sounds disappear, you can deflate the cuff faster.
-
Remove the cuff and sanitize the equipment. Wash your hands.
-
Document your findings.
Tips for an Accurate Blood Pressure Reading
-
Be aware of any contraindications to checking blood pressure on a particular arm, such as the presence of an IV line or AV fistula, recent surgery or trauma to that extremity, or lymphedema.
-
Have the patient empty their bladder beforehand. A full bladder can result in a false high blood pressure reading.
-
Ensure the patient has not had any alcohol, caffeine, or cigarettes in the past 30 minutes.
-
Have the patient sit and relax for 5-10 minutes before checking their blood pressure.
-
Make sure they sit with their back and arms supported, legs uncrossed, and feet flat on the floor. The patient should not talk during the procedure.
-
Select the correct size cuff—too big can result in false low readings, and too small can result in false high readings.
-
The cuff should be snug around the patient’s arm, but not tight. Too tight will give you false high readings, and too loose will show false low readings.
-
Make sure the cuff is wrinkle-free and smooth against the patient’s skin. Wrinkles in the cuff can cause inaccurate readings.
By regularly practicing the skill of obtaining blood pressure and avoiding the variables that can skew results, you will have readings you and the providers can trust! For more useful medical information about blood pressure and other healthcare-related concepts, including practice tests, study guides, and flashcards for the CMA, RMA, NCMA, and CCMA medical assistant tests, check out Union Test Prep!
Keep Reading

Medical Assistant test Blog
How to Do Well on the Medical Assistant Exam
If you’re planning to enter the medical assisting profession, passing a…

Medical Assistant test Blog
What Is a Medical Assistant?
Are you considering a medical assistant career? You’re not alone. Curre…

Medical Assistant test Blog
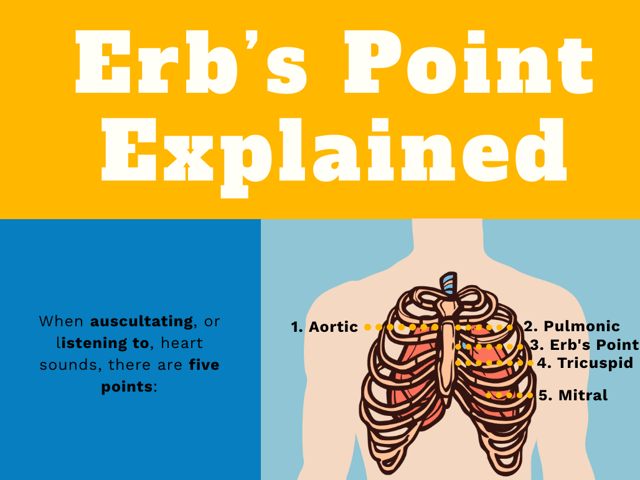
Erb’s Point Explained
What is Erb’s Point? As a medical assistant, you will do a lot of ausc…